
Ever noticed strange lines, flickers, or random colors flashing across your display? Well, those aren’t your eyes playing tricks, they’re called screen artefacts. These unwanted visual glitches can show up as distortions, tearing, or odd color blocks, making your screen look like a broken puzzle. Whether you’re gaming, editing, or just browsing, artifacts on screen can ruin the experience and leave you wondering what went wrong.
The truth is, screen artifacting isn’t just an eyesore, it’s your system’s way of saying something’s off. It could be a monitor artifact, a faulty GPU, or even overheating causing display artifacts to appear. The good news? You don’t need to panic. In this guide, we’ll walk through what causes these weird artifacts on screen and show you how to fix screen artifacts easily, step by step.
Understanding Screen Artefacts (or Artifacts)
So, what exactly are screen artefacts and why do they suddenly show up when your display was fine just a minute ago? In other words, they are just visual glitches like weird lines, pixel errors, and/or flickering colors creating an illusion different from the real picture that you are supposed to be seeing. Such display artifacts often hit when something interferes with the usual frame rendering or pixel rendering process between the GPU, monitor, and display driver.
The best way to illustrate the situation is that your graphics card sends out an image quite smoothly but when and where the signal is messed up, what is the outcome? So you would be a beholder to graphical artifacts bouncing across your screen.
Then, again screen artifacts may come in many shapes, sometimes very faint and non-disturbing, but in other cases, quite noticeable and affecting the whole image. The user might be uncomfortable with the image distortion, the random color designs, or the blocks that have no relation at all with the picture.
Most likely, these will be the visible signs of some underlying problem, such as a graphics card that is overheating, or drivers that got corrupted, or even the problem of display cables that are not snugly fit. The important thing is to recognize these signs as soon as possible in order to prevent them from later on developing into permanent damage.
Related Blog: Mobile Gaming Corps Switch Controller for Gamers
What Are Screen Artefacts Exactly?
Here’s the thing, screen artifacts meaning isn’t as mysterious as it sounds. They’re simply unwanted changes or errors in how your display presents visuals. When your GPU misfires, or the display driver sends corrupted data, it leads to visual glitches and display signal mismatches. Common examples include horizontal tearing lines, random flashing pixels, or patchy textures during gameplay. Think of it as your computer’s way of saying, “Hey, I’m struggling to show this image correctly.”
Screen Artefacts vs. Dead Pixels vs. Tearing
It’s easy to confuse screen artefacts with dead pixels or screen tearing, but they’re not quite the same.
- Dead pixels are physical, tiny points on your monitor that stop lighting up. They stay stuck, no matter what’s on screen.
- Screen tearing, on the other hand, happens when your GPU and monitor fall out of sync, splitting frames into mismatched sections.
- Screen artifacting, though, is more about graphical errors and pixel rendering problems, often caused by hardware stress, faulty VRAM, or buggy software.
When you know the difference, troubleshooting becomes a lot easier, and you can zero in on the real culprit behind those flickering visuals.
Types of Screen Artefacts and What They Look Like
When your display starts acting up, not every glitch looks the same. Screen artefacts can appear as lines, blocks, flickers, or random colors, each pointing to a different cause. Let’s look at the common types so you can spot what’s really going on.
Pixelation and Blocky Images
When your screen turns into a grid of squares or looks “low-res,” that’s pixelation. It usually happens when the GPU struggles to render images properly.
Common signs:
- Blocky or blurry textures
- Loss of image detail
- Appears during heavy gaming or video rendering
Possible causes: overheating GPU, driver bugs, or corrupted textures.
Horizontal or Vertical Lines
Seeing lines running across your monitor? Those are monitor artifacts, a classic display problem.
How they appear:
- Thin or thick horizontal/vertical lines
- Sometimes flicker or shift
- Often visible during startup or high load
Why it happens:
- Loose or damaged cables
- Faulty display signal or pixel rendering issue
- In laptops, a weak display connector inside the lid
Screen Tearing and Ghosting
You move your mouse or play a game, and the screen looks “split” or leaves shadows behind that’s tearing or ghosting.
Screen tearing:
- Frames overlap or look broken
- Caused by mismatched GPU and monitor refresh rate
Ghosting:
- Faint trails behind moving objects
- Happens when pixel response is too slow or V-Sync is off
Both are forms of screen artifacting and can often be reduced by enabling G-Sync or FreeSync.
Editor’s Pick: Pokémon Keycaps for Your Ultimate Keyboard Battle Station
Random Dots or Weird Colors
Sometimes your display shows random sparkles, color spots, or flashing dots. These weird artifacts on screen look minor but can mean serious trouble.
You might notice:
- Tiny colored pixels flickering
- Unusual color patches
- Sudden “static” or snow on the display
Root causes:
- Failing VRAM
- Overheating GPU
- Loose HDMI/DisplayPort cables
If left unchecked, these display artifacts can worsen, leading to permanent visual distortion.
Every one of these glitches from pixelation to ghosting is your system’s way of saying, “Hey, something’s not right.” Recognizing the pattern early helps you fix the problem before it gets worse.
Common Causes of Screen Artefacts
Ever wondered why those odd shapes or lines suddenly appear on your screen? Well, screen artefacts don’t just happen out of nowhere. They’re often signs of a deeper issue, from overheating hardware to outdated drivers or simple cable problems. Let’s break it down so you can pinpoint what’s really going on.
Hardware-Related Causes
Most screen artifacts come from physical or component issues inside your computer. When your GPU or VRAM starts failing, it can’t render images properly, leading to monitor artifacts like flickering lines or color distortions.
Common hardware culprits:
- Overheating GPU or CPU: Excess heat causes heat throttling, which leads to unstable frame rendering.
- Loose or damaged HDMI/DisplayPort cable: Poor signal transfer creates signal interference or pixel errors.
- Overclocking gone wrong: Pushing your graphics card too far can trigger frame buffer corruption and visual noise.
- Dust buildup or poor cooling: A clogged cooling system limits airflow, raising component temperatures.
Pro tip: Check temperatures and reseat cables before assuming your GPU is dead.
Software-Related Causes
Sometimes, the problem isn’t the hardware, it’s the software running behind it. Outdated or corrupted display drivers are a leading cause of computer screen artifacting, especially after system updates.
Look out for:
- Driver conflicts after Windows updates or GPU installs
- Incompatible display settings or refresh rates
- Operating system glitches (common in Windows 10/11)
Updating or rolling back your display drivers can often fix artifacts on the computer screen within minutes.
Temporary Visual Glitches
Not all glitches are serious. Occasionally, artifacts on the monitor appear due to short-term conflicts, maybe a buggy app, a sudden resolution change, or a heavy graphics load.
Quick fixes include:
- Restarting your PC or closing GPU-heavy apps
- Resetting refresh rate and resolution
- Running your system in Safe Mode to check if artifacts persist
These temporary errors usually clear up on their own, but if they keep coming back, it’s a sign of something bigger.
Understanding what causes screen artifacts helps you act fast before minor flickers turn into full-blown display damage.
How to Fix Screen Artefacts Quickly
Here’s the thing, most screen artefacts are fixable with a few quick checks. Don’t panic. Try the easy steps below first, then move to deeper fixes only if the problem keeps coming back. I’ll walk you through simple, safe, and practical methods you can do right now.
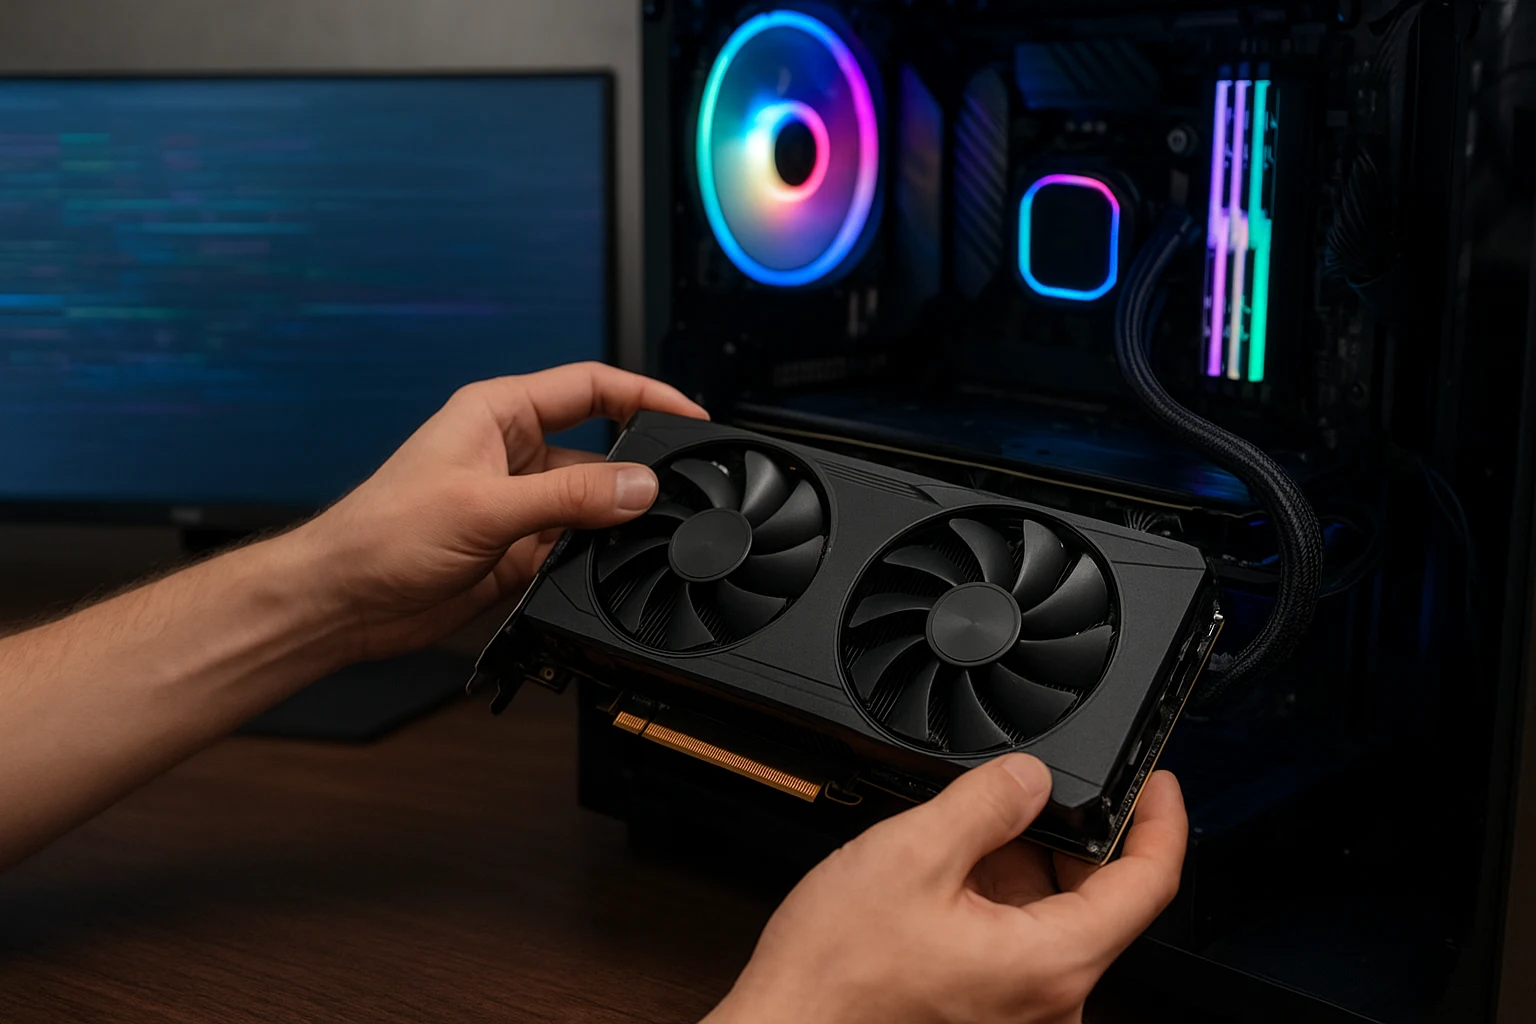
Step 1: Check and Reseat Hardware
Start with the physical stuff. This is fast and often fixes artifacts on display.
- Turn off your PC or laptop and unplug it.
- Check the HDMI, DisplayPort, or VGA cable. Look for bent pins or frayed ends. Swap the cable if you can.
- If you use a desktop, open the case (only if you’re comfortable) and gently push the graphics card back into its slot. Sometimes it’s just a loose connection.
- Try the monitor on another computer, or try a different monitor on your computer. This helps you figure out whether the issue is the screen or the PC.
- For laptops, open and close the lid a few times gently. A loose internal display connector can cause lines or flicker.
Quick checks to do first: cable swap, try another port, test with a different monitor.
Step 2: Update or Roll Back Drivers
Software can cause screen artifacting, especially after OS or driver updates. Here’s how to handle drivers on Windows.
- Open Device Manager and go to Display adapters.
- Right-click your GPU and select the Update driver, then choose search automatically.
- If the problem started after a driver update, select Roll back driver (if the option is available).
- For a clean reinstall, download the latest driver from the GPU maker like NVIDIA, AMD, or Intel. If needed, use a tool like Display Driver Uninstaller (DDU) in Safe Mode to remove old drivers first, then reinstall the new driver.
Tip: Always use official drivers from the manufacturer’s website. Avoid shady driver sites.
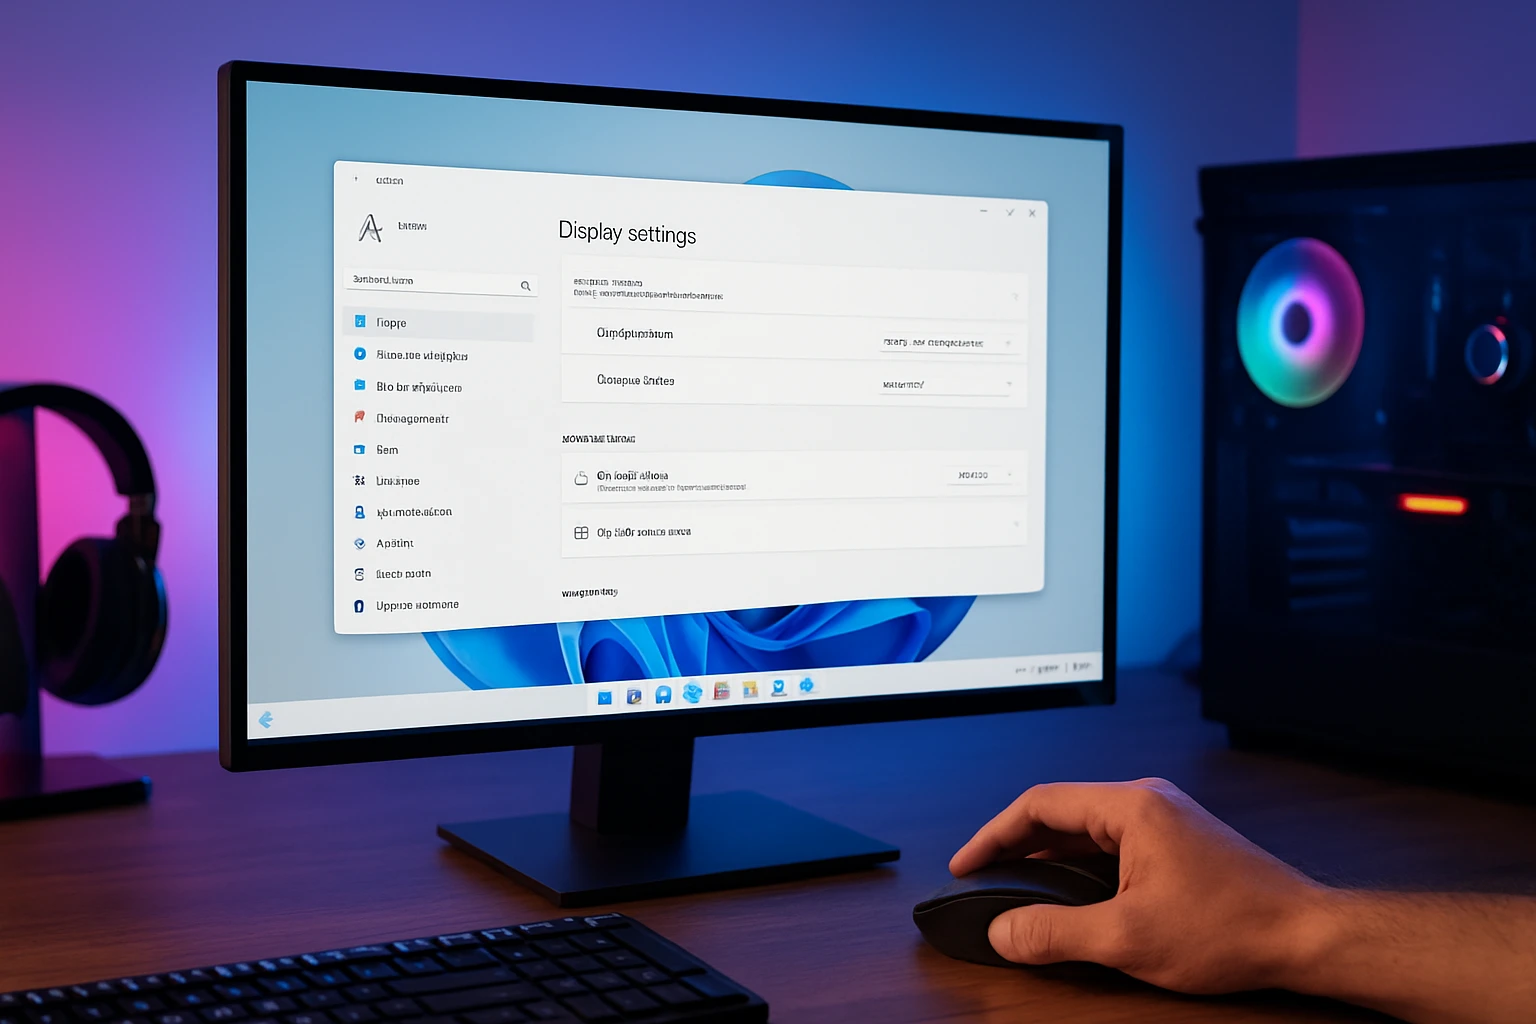
Step 3: Adjust Display and Power Settings
Sometimes wrong settings cause tearing, flicker, or blocky images. Fixing these is simple.
- Right-click Desktop, select Display settings, and open Advanced display settings. Check resolution and refresh rate. Set them to the monitor’s native settings.
- In your GPU control panel (NVIDIA Control Panel or AMD Radeon Settings), reset any custom display profiles.
- Turn off hardware acceleration in apps (browser or video players) that show artifacts.
- Set Windows Power Plan to Balanced or High performance, not extreme power-saver modes for graphics work.
Small changes here often stop display artifacts caused by mismatched refresh rates or scaling.
Step 4: Monitor GPU Temperature and Overclocking
Heat and overclocking are big culprits for graphical artifacts.
- Use a tool like MSI Afterburner or HWMonitor to watch GPU temps while you reproduce the artifact.
- Normal GPU idle temps: around 30–45°C. Under load: typically up to 80°C depending on the card. If temps spike very high (over 90°C), that’s a red flag.
- If you’ve overclocked your GPU or CPU, revert to stock settings. Overclocking can corrupt the frame buffer and cause artifacts.
- Clean dust from fans and heatsinks, ensure good airflow, and check that the GPU fan spins up under load. Reapply thermal paste only if you know how; otherwise, get help.
If artifacts stop after lowering temps or removing overclock, you’ve found the cause.
Quick Troubleshoot Checklist
- Swap the display cable and test another monitor.
- Update or roll back display drivers.
- Reset resolution and refresh rate to native.
- Disable overclocking and monitor temps.
- Boot in Safe Mode. If artifacts disappear, it’s likely software-related.
If none of the above fixes the problem, it’s likely a failing GPU, damaged VRAM, or a dying monitor. At that point, consider professional repair or a warranty claim.
How to Fix Screen Artefacts in Windows 10 and Windows 11
If those pesky screen artefacts keep showing up no matter what you try, Windows 10 and 11 have a few built-in tools that can help you fix things without breaking a sweat. These fixes are especially useful if your issues started after an update or a driver change.
Use Windows Display Troubleshooter
Start with the simplest tool in the box, Windows Display Troubleshooter. This built-in feature automatically detects and repairs common GPU or display issues.
Here’s how you can use it:
- Press Windows + I to open Settings.
- Navigate to System → Display → Advanced display settings.
- Scroll down and click Display adapter properties.
- Under the Adapter tab, select Properties → Troubleshoot.
- Run the Troubleshooter and follow the on-screen instructions.
This process checks for driver conflicts, DirectX errors, and displays misconfigurations, often enough to clear those random flickers or glitches.
Run System Restore or Clean Boot
If the display troubleshooter doesn’t do the trick, your next move should be a System Restore or Clean Boot. Sometimes, newly installed apps or driver updates can mess with GPU rendering.
- System Restore:
- Type “System Restore” in the Windows search bar.
- Choose Create a restore point → System Restore.
- Pick a restore point before the issue starts, and let Windows roll back to that configuration.
- Clean Boot:
- Press Windows + R, type msconfig, and hit Enter.
- In the Services tab, check Hide all Microsoft services and click Disable all.
- Go to the Startup tab and open Task Manager. Disable unnecessary startup programs.
- Restart your PC.
This method isolates the cause, if your screen artifacts vanish during the clean boot, you’ve likely found a conflicting app or driver.
With these Windows-specific steps, your display should look crisp again, free from those irritating artifacts and visual glitches.
Preventing Future Screen Artefacts
Fixing screen artefacts once is good, but keeping them from coming back? Even better. With a little preventive care and regular maintenance, you can make sure your display stays sharp and glitch-free for the long haul.
Keep Drivers and OS Updated
Outdated software is one of the sneakiest culprits behind recurring display issues. Regularly updating your GPU drivers and operating system helps prevent compatibility glitches and rendering problems.
- Use Windows Update to keep system files current.
- Visit your GPU manufacturer’s website (NVIDIA, AMD, or Intel) for the latest drivers.
- Avoid third-party driver tools and stick to official sources for reliability.
Keeping everything updated ensures smoother communication between your graphics card, monitor, and display adapter.
Maintain Optimal GPU Health
Your GPU works hard, sometimes too hard. To prevent overheating and visual glitches, make GPU maintenance a habit.
- Clean dust from fans and vents every few weeks.
- Ensure proper airflow inside your PC case.
- Apply fresh thermal paste every couple of years to maintain cooling efficiency.
- Avoid unnecessary overclocking that strains the GPU and causes heat throttling.
If your GPU runs hot, try tools like MSI Afterburner or HWMonitor to keep an eye on temperatures and fan speeds.
Use High-Quality Display Cables
Sometimes, the simplest component can cause the biggest headaches. Cheap or damaged HDMI and DisplayPort cables can introduce signal interference and pixel errors, making your screen look glitchy.
- Use certified HDMI 2.0+ or DisplayPort 1.4 cables.
- Avoid bending or twisting cables too tightly.
- If artefacts appear randomly, try swapping cables to rule out a connection issue.
By keeping your system clean, cool, and up to date and using reliable connections, you’ll not only prevent screen artefacts but also extend the life of your hardware.
Final Thoughts
Screen artefacts might look alarming at first a flicker here, a strange line there, but most of the time, they’re fixable with a few smart tweaks. Whether it’s reseating a cable, updating your GPU driver, or cleaning out some dust, a bit of care goes a long way toward restoring your display’s visual fidelity.
Keeping your system healthy isn’t just about smooth performance, it’s about stability and longevity. Regular updates, proper cooling, and good-quality cables help maintain your display integrity and prevent those annoying graphical glitches from coming back.
At the end of the day, every screen issue tells a story, your system’s way of saying it needs a little attention. With the right mix of awareness and preventive habits, you can enjoy crisp visuals, better system performance, and a hassle-free computing experience for years to come.
Frequently Asked Questions About Screen Artefacts
What are screen artefacts?
Screen artefacts are unwanted visual glitches that appear on your display, like lines, flickering, distorted pixels, or strange shapes. They usually occur when your GPU, monitor, or software has trouble rendering visuals correctly.
How to fix screen artifacting?
Start with the basics, check your cables, clean your GPU, and make sure your drivers are up to date. If that doesn’t work, try lowering your graphics settings or running your system in safe mode to spot any hardware or software conflicts.
Is artifacting a GPU problem?
In most cases, yes. Artifacting often happens when a graphics card is overheating, overclocked, or has damaged VRAM. However, sometimes the issue comes from a faulty display cable or outdated drivers.
Does artifacting go away?
Sometimes it does! Minor display artifacts can disappear after a reboot or driver update. But if they keep showing up, it could mean your hardware needs attention, especially your GPU or cooling system.
Can screen artefacts damage your monitor?
No, screen artefacts don’t directly damage your monitor. They’re usually a symptom, not the cause. However, ignoring them can lead to bigger issues if the underlying problem, like overheating or hardware failure, isn’t fixed in time.