
Your computer suddenly freezes, applications shut down without warning, and sometimes that blue screen pops up like a bad dream. These random glitches often leave you wondering if your PC is losing its mind. The truth? It might be your RAM that is crying for help.
Bad RAM symptoms can be unexpected. They can start from corrupted files and end with endless reboots, and the faulty memory can confuse the user and frustrate them by causing the instability and poor performance of the system in the most annoying and baffling ways. Realizing these early signs is not only about smooth performance but also about data protection and the overall health of the system.
In this quick and easy to follow guide, you will learn how to detect the bad RAM warning signs, to test your memory safely, and to take the right measures for fixing it. It does not matter whether you are a gamer, a casual user, or simply fed up with frequent crashes this guide will make your PC run like it is new again.
What Happens When RAM Goes Bad?
Have you ever thought about the reasons behind your computer suddenly acting up, lagging, crashing, or operating very slowly? That is probably the RAM (Random Access Memory) of the computer notifying you about its condition supposed to be working properly. Think of RAM as the short-term memory of your computer, it keeps everything running as you perform multiple tasks or load heavy applications. Your computer just cannot decipher long troubles without good RAM.
When RAM degrades, it will start to confuse or lose the data of the bits. Visualize that you are trying to follow a cooking recipe while forgetting half the ingredients, that is your computer with defective memory. These very small memory errors can lead to programs crashing without notice, cause unending restarts, and even lose crucial files through corruption. To put it in a nutshell, bad RAM not only delays the processing time but also can ruin your computer’s workflow altogether.
For this reason, it is not just a matter of convenience but also a matter of life and death knowing the bad RAM symptoms early. If these warning signs are noticed early enough, they will not become major problems; thus, the hard disk would not be corrupted, and data loss would not take place. Besides, your computer shall continue to maximize its potential in performance. Let us go deeper into the discussion of how to know if your RAM is in distress and what can be done to help it.
Common Bad RAM Symptoms You Should Watch For
When your PC starts misbehaving for no obvious reason, bad RAM could be the hidden culprit. These memory issues often sneak in quietly, showing subtle signs before turning into full-blown system chaos.
Let’s break down the most common bad RAM symptoms you should keep an eye on so you can catch problems early and save yourself from data loss or unnecessary repairs.
1. Frequent Crashes or Blue Screens (BSOD)
One of the clearest warning signs of faulty RAM is the dreaded Blue Screen of Death (BSOD). When your computer’s memory can’t handle data correctly, it causes sudden crashes and restarts. You’ll often see messages like “Memory Management Error” or “IRQL Not Less or Equal” both linked directly to RAM issues.
If you’re using Windows, you can check crash logs in the Event Viewer to confirm if memory errors were behind the failure. Frequent blue screens aren’t just annoying; they’re your system’s way of saying your RAM might be on its last legs.
2. Slow Performance and Random Freezes
Notice your PC taking forever to open apps or freezing mid-game? That’s a common symptom of deteriorating RAM. When your memory struggles to handle multiple tasks, it can no longer keep up with high workloads like gaming, editing, or even browsing with many tabs open.
A quick tip: try restarting your system and checking memory usage in Task Manager. If you notice unusually high memory use or constant freezing even with light tasks, it’s a sign your RAM might be struggling.
3. Corrupted Files or Failed Installations
Bad RAM doesn’t just affect speed, it can mess up your data too. When memory fails to store information correctly, files may become corrupted or installations may stop midway. You might see errors like “file can’t open” or “installation failed” even though everything else looks fine.
This happens because faulty memory distorts the data being transferred between storage and active memory. If you’re losing files or installations keep breaking, it’s worth running a memory diagnostic before blaming your hard drive.
4. Random Restarts or Boot Failures
Does your PC restart itself without warning or refuse to boot up? Faulty RAM could be the cause. When memory modules receive inconsistent voltage or lose contact with the motherboard, the system fails to start correctly.
Before assuming the worst, try reseating your RAM sticks, remove them carefully and plug them back in. It’s a simple test that often fixes connection-related memory problems without needing replacements.
5. Beeping Sounds or No Display at Startup
If your computer refuses to show anything on screen and instead gives a series of beeps, that’s your motherboard talking. These beep codes are built-in error alerts that indicate hardware problems, often related to RAM.
Each pattern of beeps means something different depending on your motherboard’s brand, so check the manual for details. If you’ve got more than one RAM stick, try swapping their positions or testing one at a time to pinpoint which one’s faulty.
Related Blog: FiveM Builds That Deliver Max FPS, Smooth Frames, and Zero Lag
H2: How to Test for Bad RAM (Quick & Safe Methods)
If you’re seeing strange crashes, freezes, or corrupted files, it’s time to test your RAM. Thankfully, checking your memory isn’t rocket science, you can do it right from home with a few simple tools and steps. Here are the safest and most effective ways to find out if bad RAM is behind your PC troubles.
1. Use Windows Memory Diagnostic Tool
Windows comes with a built-in tool that scans your RAM for problems, no downloads needed.
Here’s how to run it:
- Press Windows + R to open the Run box.
- Type mdsched.exe and hit Enter.
- Choose “Restart now and check for problems” to begin the test.
- Your PC will reboot and automatically scan the memory.
Once the scan finishes, Windows will show a report after the restart. If it displays any memory errors or hardware issues, that’s your cue, at least one RAM stick might be failing. In that case, back up your data and prepare to test each stick individually to confirm which one’s bad.
2. Try MemTest86 for a Deeper Scan
For more accurate and thorough testing, MemTest86 is your best friend. It’s a free, trusted tool used by professionals to catch even the tiniest memory faults.
Here’s what makes it effective:
- It runs outside Windows, directly from a USB stick.
- It performs multiple “passes,” checking every memory cell.
- The more passes you run, the more reliable the results become.
To use it, visit the MemTest86 official website, download the tool, create a bootable USB, and restart your PC. Let it run several passes ideally overnight for a full checkup. If errors appear, you’ve likely found the culprit.
3. Swap or Reseat RAM Modules
Sometimes, your RAM isn’t bad, it’s just not seated correctly. Loose or dusty connections can mimic memory failure symptoms. A quick reset often fixes these ghost errors.
Here’s how to do it safely:
- Turn off your computer and unplug it completely.
- Open your PC case and ground yourself by touching metal to avoid static damage.
- Gently remove the RAM sticks and reinsert them until they click into place.
- Restart your PC and see if the issue persists.
If you have multiple RAM sticks, try running your PC with one at a time. This helps pinpoint which one is faulty or whether the problem lies in the motherboard slot itself.
Fixing Bad RAM – What to Do Next
So, you’ve run your tests and confirmed that one of your RAM sticks is faulty. Don’t panic. Fixing bad RAM is easier than it sounds, and in most cases, you can handle it yourself without needing a technician. The key is to act quickly before those small errors turn into bigger hardware failures. Let’s walk through the steps you should take next.
Replace the Faulty Stick with the Same Speed and Type
When replacing RAM, always match the speed, type, and voltage of your old stick. Mixing different types, like DDR3 with DDR4, or using mismatched speeds can cause instability or prevent your system from booting.
Check your computer’s manual or use a tool like CPU-Z to see your current RAM details. Once you have that information, buy a compatible replacement from a reliable brand. Installing it is simple, just insert it into the correct slot until it clicks securely.
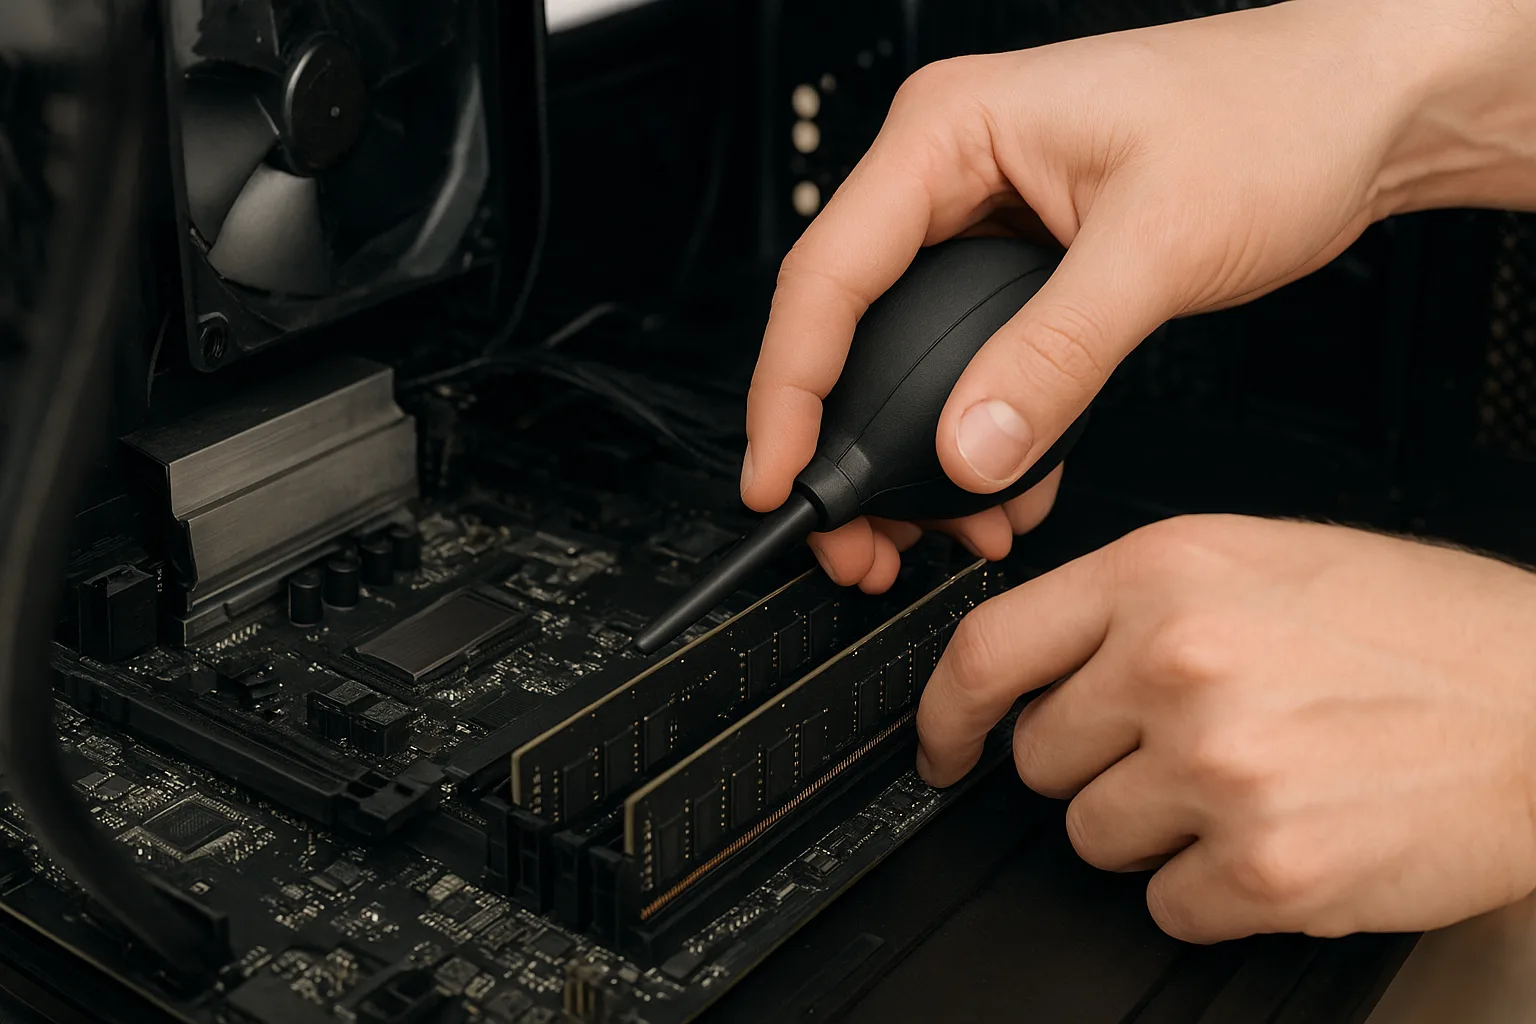
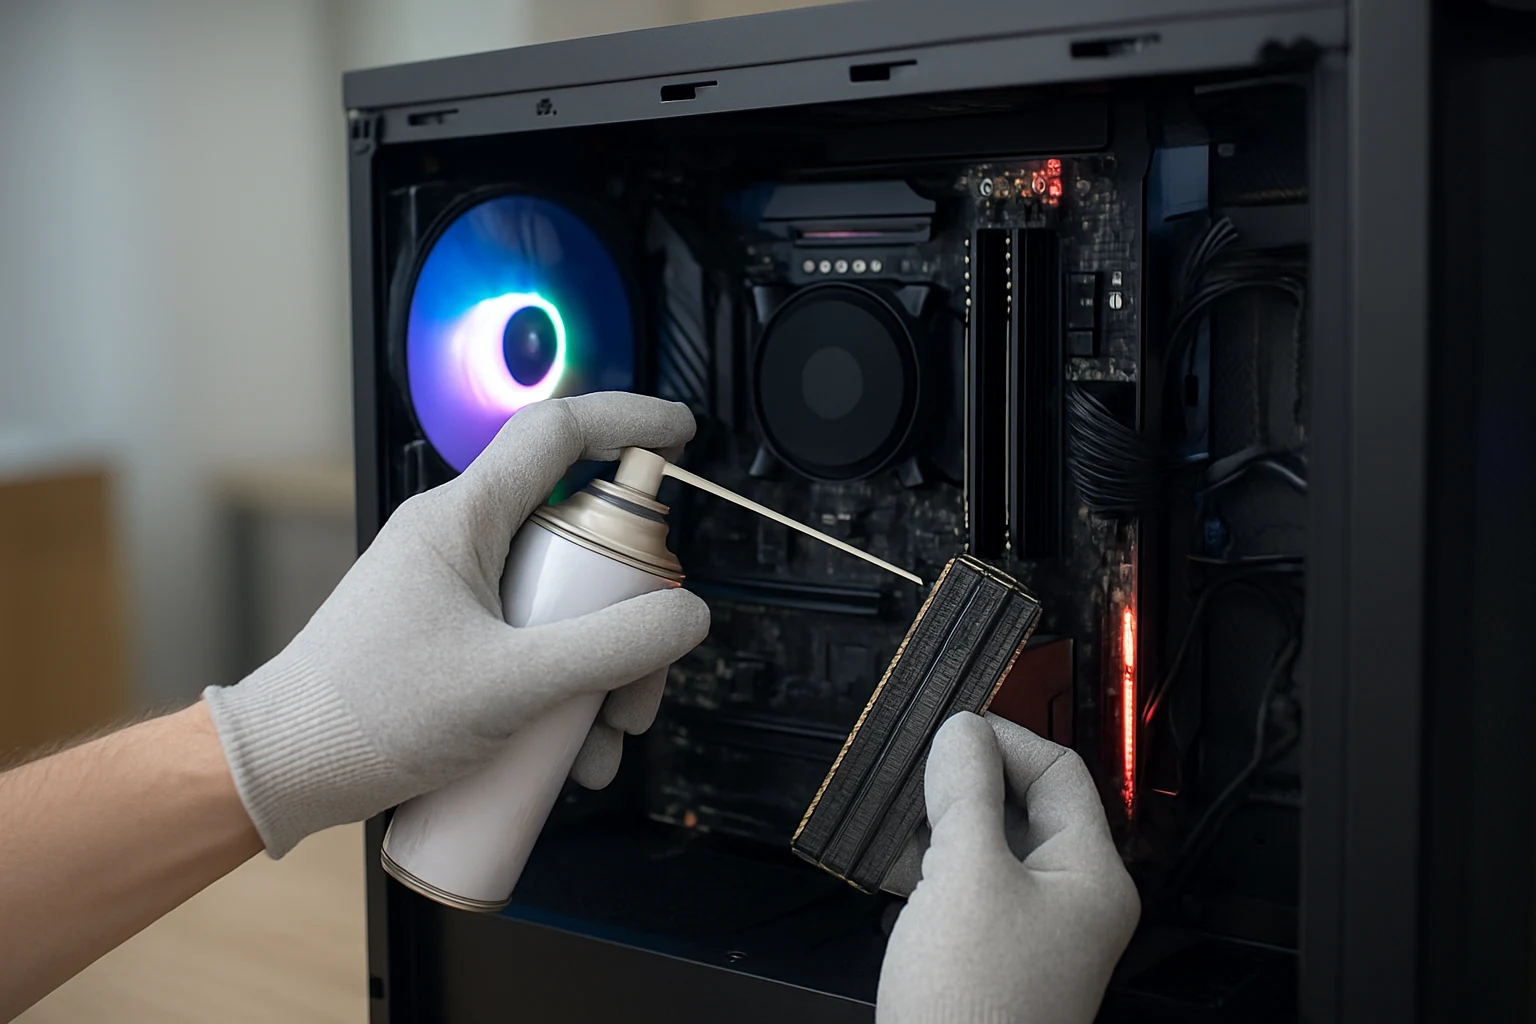
Clean RAM Slots and Check for Dust
Sometimes the issue isn’t with the RAM itself but with the slot connection. Dust and debris can block proper contact, leading to random crashes or no display.
Power down your computer completely, open the case, and use compressed air to gently blow out any dust from the slots. If you don’t have compressed air, a clean, soft brush works too. Reinsert the RAM after cleaning and see if the problem goes away.
Update BIOS if New RAM Isn’t Detected
If your computer doesn’t recognize the new RAM after installation, it could be a BIOS compatibility issue. An outdated BIOS might fail to support newer memory models.
Visit your motherboard manufacturer’s official website, download the latest BIOS update, and follow their instructions carefully. Once updated, restart your PC and check if your RAM shows up correctly in the system information.
When to Visit a Repair Shop
If none of these fixes work and your PC continues to crash, freeze, or fail to start, it’s time to seek professional help. The issue could lie deeper, possibly in the motherboard’s memory controller or power delivery.
A technician can test each slot and module with specialized tools to find the exact cause. This ensures you don’t waste money replacing parts that aren’t actually damaged.
Pro Tips to Prevent RAM Damage
Catching bad RAM early is great, but keeping it healthy in the first place is even better. A few small habits can dramatically extend your memory’s lifespan and keep your PC running at its best. Here are some proven tips to protect your RAM from damage and avoid those frustrating system failures down the road.
Avoid Overclocking Beyond Safe Limits
Pushing your RAM beyond its rated speed may sound tempting for extra performance, but it often does more harm than good. Overclocking generates extra heat and stress that can shorten your memory’s life.
If you must overclock, do it gradually and keep your temperatures in check. Use your motherboard’s BIOS settings to stay within safe voltage limits. Remember, long-term stability is always better than short-term speed.
Keep Your PC Cool and Dust-Free
Heat and dust are silent killers for all computer components, including RAM. High temperatures can cause modules to degrade faster, while dust buildup blocks airflow and leads to thermal issues.
To keep your system healthy:
- Clean your PC every few months using compressed air or a soft brush.
- Ensure proper ventilation inside your case.
- Monitor system temperatures with software like HWMonitor or MSI Afterburner.
- Replace dried or old thermal paste on the CPU if necessary.
Use a Surge Protector to Prevent Voltage Spikes
A sudden power surge can fry your RAM in an instant. Voltage spikes often happen during storms or when electrical systems fluctuate.
To safeguard your components:
- Always connect your PC through a high-quality surge protector or UPS (Uninterruptible Power Supply).
- Avoid plugging your computer directly into wall sockets.
- Unplug the system during electrical storms or long periods of inactivity.
By following these small but effective precautions, you’ll keep your memory modules stable, reliable, and ready to perform for years to come.
Final Thoughts
The computer’s RAM has a significant impact on the overall performance of the system bringing smoothness. When it begins to fail, the signs will be evident long before the total collapse. If you are able to identify the bad RAM symptoms at an early stage, test them correctly, and take action quickly, you might avoid headaches, crashes, and even expensive repairs.
If you’ve been through memory problems already, you can now test your RAM, change it safely, and stop future issues. A clean, well-taken-care-of PC with appropriate cooling and protection will keep your system stable for a very long time.
Just before you finish up, keep in mind these brief takeaways:
- Stay alert for the signs of frequent crashes, freezes, or destroyed files.
- Make use of dependable tools like Windows Memory Diagnostic or MemTest86 to check your memory.
- Maintain your PC, do not indulge in risky overclocking, and ensure you have surge protection.
- When replacing defective RAM, always choose the same type and speed to achieve better performance.
Being proactive with your hardware not only eliminates the risk of losing data but also guarantees that your system runs as fast and reliable as it was the day you set it up. Be good to your memory and it will treat you right every time you switch on your computer.
Frequently Asked Questions (FAQs)
How do I know if my RAM is faulty?
If your PC crashes, freezes, or shows frequent blue screens, your RAM might be bad. Run Windows Memory Diagnostic or MemTest86 to confirm errors.
How do I tell if I need new RAM?
If your computer lags, restarts randomly, or fails to run modern apps smoothly, it’s time to replace your RAM.
What does faulty RAM look like?
Faulty RAM may look fine but causes system crashes and file corruption. Physically, it might have burn marks or bent contacts.
Can bad RAM cause corrupt files?
Yes, bad RAM can corrupt files when data stored in memory becomes unstable or damaged during processing.
Can bad RAM damage other PC components?
Not directly, but frequent crashes from bad RAM can stress your hard drive or corrupt system files over time.